Woodworking is one of those hobbies that’s both relaxing and endlessly satisfying. Until you realize you measured once, cut twice, and now your wood just doesn’t fit. No matter how many times you cut the wood, it just doesn’t get longer. Every beginner, including me when I started, makes some hiccups along the way. Knowing what mistakes to watch for can save you both money and headaches down the line. Here I’m sharing common beginner mistakes in woodworking and how to avoid them so you can actually enjoy your projects (and show them off, too!).
Understanding the Basics Before You Start
Jumping into woodworking without some groundwork makes things a lot tougher. Many beginners get excited and skip over important basics, like understanding wood types, reading project plans, or identifying which tools do what. Even if the project looks simple, each step counts for a reason. Taking time to learn the foundational stuff helps projects go smoother and builds better habits right from the start.
Wood comes in all sorts of varieties, from soft pine to dense oak to super hard exotic woods, and each type reacts a bit differently when you cut, glue, or finish it. If you don’t know what you’re working with, you might run into splintering, uneven coloring, messed up joinery, or even a totally ruined project. I always recommend starting with easy to work with woods like pine and learning how to read grain direction and how wood reacts when you work with it. It matters more than most folks expect, and knowing this can save you from a lot of newbie headaches, like boards that split or don’t absorb stain evenly.
Common Mistakes (And How To Dodge Them)
Even the most careful beginners run into mistakes. It’s just part of the learning curve. Here are a few of the most common issues I see, with simple ways to side step them:
- Not Measuring Properly: Messing up measurements is way more common than you think. Rushing this step or using a dull pencil pretty much guarantees trouble. Double-check your numbers and use sharp pencils or marking knives for best accuracy. Yes, it really makes a difference, especially if you’re following multi step plans. There is an old adage in woodworking, Measure twice, cut once. Believe me, I’ve learned the hard way many times that I should have measured again. And write down your measurements. I can’t count how many times I was just going to remember the numbers only to cut the piece wrong.
- Ignoring Wood Movement: Wood expands and contracts with temperature and humidity changes. If you glue everything tight without making room for this, pieces warp or crack over time. Always leave a bit of wiggle room, especially in table tops or wide panels, so your project holds up in any season.
- Using Dull Blades and Bits: Dull tools not only make the work harder but can also be unsafe. A dull blade means you have to use more force to push or use the blade. Doing so makes you more prone to slip due to the extra force to use the tool. That slip may cause a bad injury. Plus, they’re terrible for your wood, leaving ragged edges behind. Sharpen or replace blades and bits often for smoother cuts and less frustration.
- Skipping the Dry Fit: Gluing parts together before making sure they fit is a total beginner trap. If you don’t dry fit, you might end up with crooked joints or gaps. Always assemble everything without glue first; chalk marks can help you keep track of what goes where.
- Poor Clamping Techniques: Too much pressure, uneven pressure, or not enough clamps can all ruin a glue up. Start with clean, aligned joints, apply glue evenly, and clamp so pressure is distributed. Wipe away excess glue before it dries, not after, to avoid messy cleanups and sticky hands later. Get all your clamps ready when you are dry fitting the project. Then all your clamps will be ready for the actual glue up.
- Neglecting Safety Gear: Safety glasses, dust masks, and ear protection can all feel unnecessary until an accident happens. Using them is a habit worth picking up from day one. Not only will you stay safer, but you’ll also feel more relaxed and confident as you work. Never underestimate the value of being able to hear, see, and breathe safely!
Getting Your First Projects Right
The best way to learn in woodworking is by getting into projects, but setting the right expectations makes a big difference. Choose simple plans that build foundational skills, like cutting straight, drilling accurate holes, and basic joinery. Don’t be tempted by complex builds right away. Something like a small shelf or picture frame is perfect for learning the ropes without biting off more than you can chew.
Beginners often obsess over perfection, only to burn out or ditch projects half finished. No piece will be flawless, especially at the start. Every slip up (think: a wonky joint or visible screw) is a lesson for your next project. Over time, you’ll start to notice your skills coming together and the imperfections will shrink. Patience and practice are your best friends in the shop. I look at some of the pieces I made 25 years ago and can’t believe how wonky they were. Before you know it, your skill will be improving with each project.
- Practice Repetition: Making the same item a few times, like a trio of cutting boards, helps reinforce key skills and makes mistakes less intimidating. It’s also a good way to build up your confidence and maybe even have a few handmade gifts ready for friends or family.
- Upgrade One Tool at a Time: You don’t need a fully loaded workshop to get started. Instead, master basic hand tools like a chisel, handsaw, tape measure, and combination square before gradually adding power tools. This approach keeps you focused and lets you actually learn what each tool is supposed to do, which means fewer mistakes and more satisfaction when things go right.
- When to Upgrade: Upgrade when you find yourself needing a certain tool to complete a project. Maybe having a powered saw would make things easier. But you can do a LOT with just a circular saw before having to move up to a table saw. And that is the case with most woodworking tools.
Prepping and Planning: Don’t Skip These Steps
Planning your work area and projects might seem kind of boring, but it’s worth the effort. Woodworking gets messy, so keeping a clear, organized space not only prevents mistakes but keeps you much safer. Tripping over extension cords or piles of wood is never fun. Lay out your materials and tools before starting, and run through your steps mentally. If you’re using plans, read them through a couple of times. Missing a small detail might throw off your entire build, so getting it locked in ahead of time is always a plus.
Don’t rush to cut all your parts at once. In the beginning, I often cut all the parts listed in the plan. Only to find out some of the parts didn’t fit because of some other parts I cut wrong. Cut the parts you need for each step of the project you are building.
Avoid rushing through surface preparation for finishing. A sloppy sanding job or patchy stain kind of ruins the payoff. Work your way through the sanding grits (start rough, end fine), wipe down well, then apply finish in thin coats. Taking your time here makes even a basic project look much more professional. Attention to detail really pays off in the end result.
Welcoming Mistakes as Learning Opportunities
I can guarantee that mistakes will happen. A missed cut, an extra hole, a surprise split, or glue marks that just won’t come off. The trick is to learn from each slip and see what you could do differently next time. Maybe you measure more carefully, maybe you use painter’s tape to control tear out, or maybe you clamp a little differently.
Keeping a scrap bin is super handy. Try out new cuts, joint types, or finishes on scrap first before committing to your main piece. Using scrap lets you test without real risk, and you’ll often realize adjustments you didn’t think you needed. Every small experiment helps you level up for next time.
Things Worth Considering Before Buying More Tools
Grabbing the latest power tool can be tempting, but often, beginners spend way too much right away, only to realize they didn’t really need half of what they bought. I can admit that I did exactly that. Start small. Focus on versatile tools you’ll actually use often, and build your collection based on actual project needs. Reading reviews and visiting local woodworking stores for hands on time with tools is much more useful than buying from ads alone. If you have a friend that does woodworking, visit his shop, get his advice on tools, and see what features you like on their equipment.
- Quality Over Quantity: A top notch chisel or saw helps get better results than a big box of random, cheap tools. I have drawers full of cheap tools that never see the light of day. Fewer, better tools make your projects go smoother and last longer.
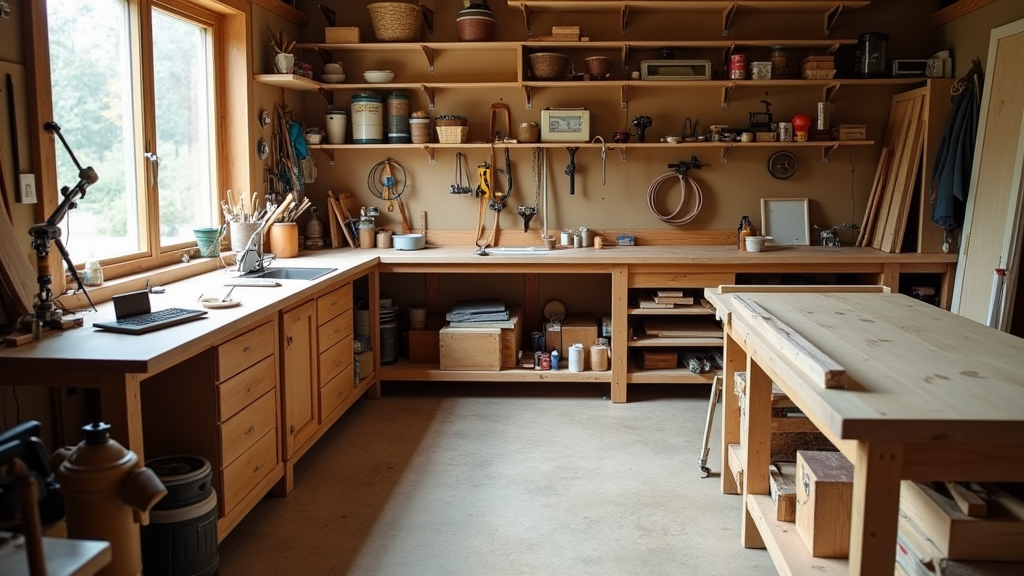
- Workshop Layout: Space matters. Make sure your work area is set up for good movement and tool storage. It’s annoying to hunt for a square that keeps getting buried under scraps, but having a spot for everything speeds things up and keeps you working safely. Also, make sure you have plenty of light, it is easier to see what you are doing.
Finishing Touches Matter
The real beauty of woodworking often shows up at the finish line. A good finish starts with good sanding. Be sure to sand thoroughly through the grits. Most projects should be sanded to 150 to 180 grit for painted projects. Clear finished projects should be sanded to 180 or 220 grit. Wipe down your project with mineral spirits to find hidden glue marks or badly sanded areas before applying andy stain or finish.
Beginners sometimes rush through staining or sealing. Thin, even coats, plenty of drying time, and a light sand in between coats creates a polished look you’ll actually be proud to put on display. Don’t forget that the right finish not only makes wood look good, it also protects it against moisture, scratches, and sunlight over time. Take time to pick a finish that suits both your project and its intended use.
Woodworking FAQs For Beginners
Here are a few questions I hear a lot from folks just starting out:
Question: What’s the best project for absolute beginners?
Answer: Stick with simple builds like a basic jewelry or recipe box, storage boxes, or birdhouses. They’re not complicated but give you plenty of practice on measuring, cutting, and assembly. Plus, they don’t need much wood, so if you make a mistake, it’s not a big loss.
Question: Should I go straight to power tools?
Answer: Not right away. Getting comfortable with hand tools helps you learn woodworking fundamentals and craftsman’s control. Once you’ve got those down, upgrading to power tools feels way easier and way safer, too. I started my woodworking journey with a handsaw, hammer and nails. The projects weren’t necessarily pretty, but they were functional.
Question: How do I avoid wasting wood?
Answer: Plan your cuts before making them, always double-check your measurements, and use scrap for practice or tricky cuts. Bringing a cut list to the lumber store can also help you buy just what you need and reduce leftovers. You will want to allow for some extra wood. Sometimes there may be knots or other defects in the board that you will have to cut around so the whole board may not be usable.
Question: What do I do if I mess up a cut?
Answer: Cut it again to see if the board gets longer. Sorry, I just had to add that joke here. I did that many times in the beginning. See if you can adjust your plans. Sometimes a smaller piece or a decorative patch can hide mistakes. If not, turn the error into a learning experience and use it as a template for your next cut. Remember, even the pros make mistakes, but figuring out a fix is part of the fun. After 25 years of woodworking, I still find I have cut something wrong at times.
Enjoying The Adventure And Building Confidence
Building woodworking skills is really about patience, practice, and a willingness to adapt. Every project teaches something new. Sometimes about the wood, sometimes about your tools, and sometimes about how you approach problem solving. The more you embrace learning, accept a few slip ups, and remember to enjoy the craft itself, the better your projects (and your confidence) will get! Keep your space safe, measure often, start simple, and have fun making sawdust. Each mistake you avoid, or fix, brings you one step closer to building stuff you’re genuinely proud of. Wrapping up: let yourself enjoy the ride and watch your skills stack up, one project at a time.
I’d love to hear about your woodworking experience or see pictures of things you’ve made.
![]()
the master’s workshop of WI
© May 6, 2025
Leave a Comment