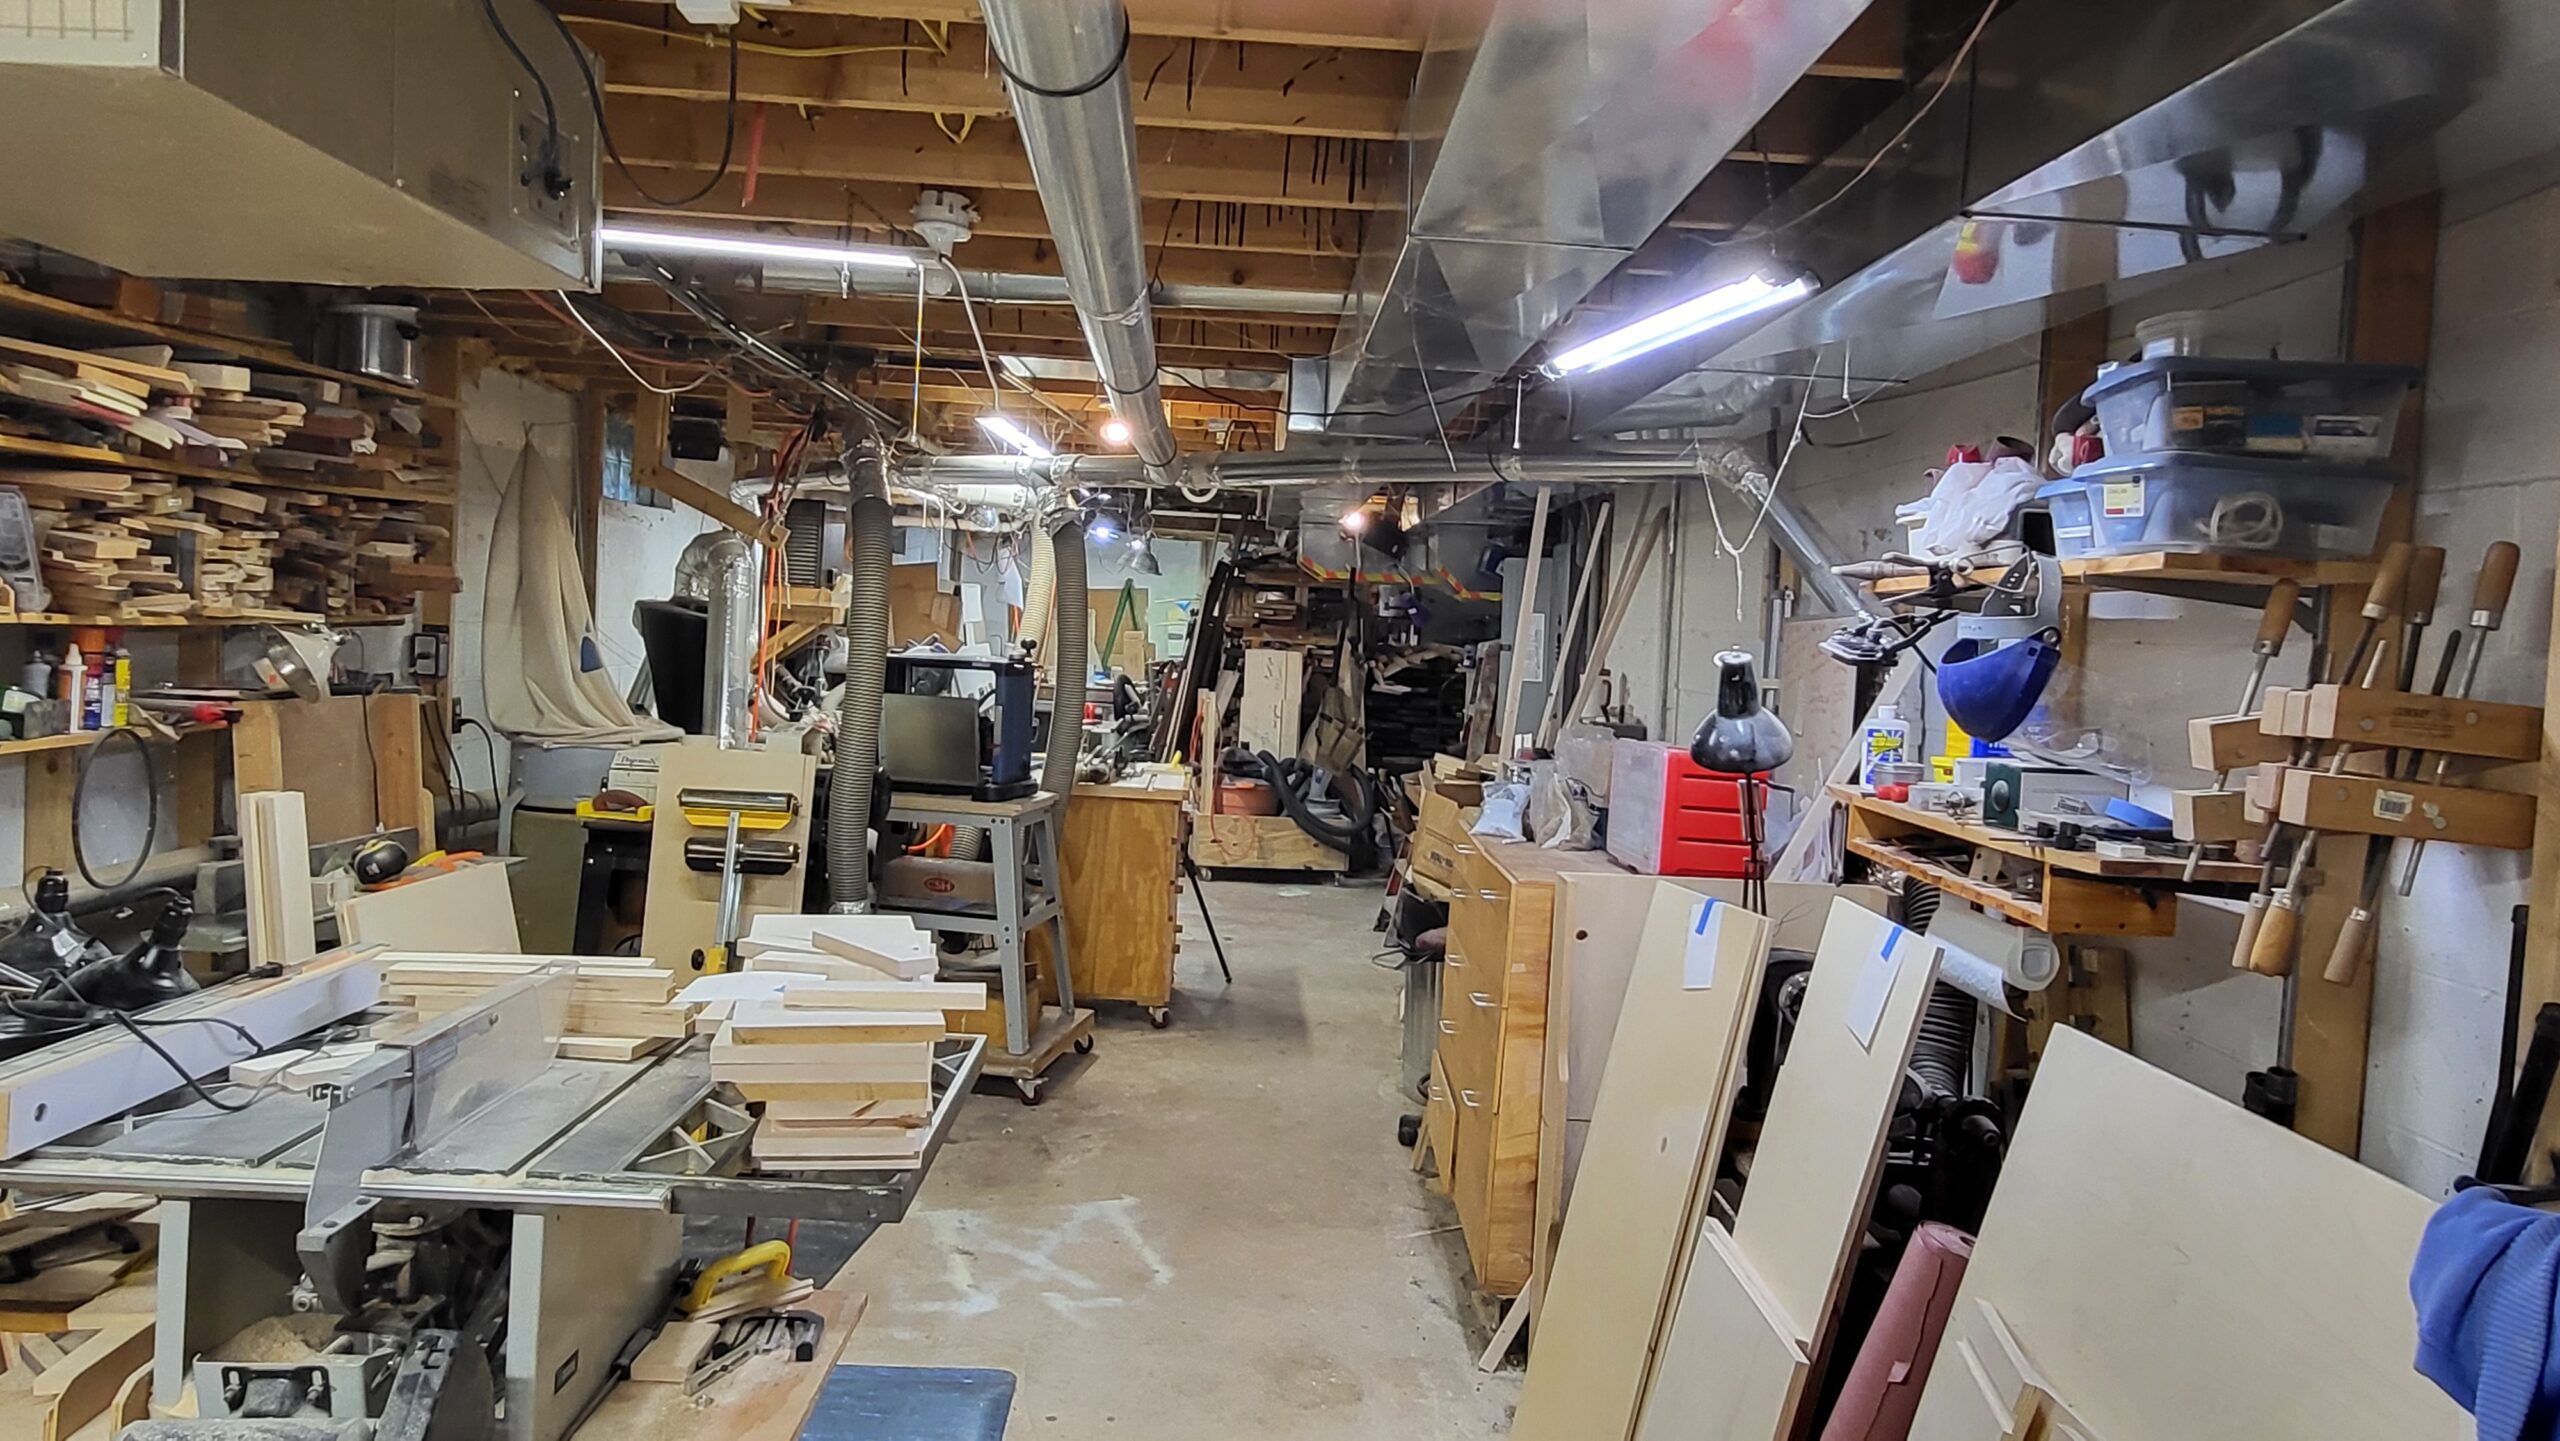

A view down my current 1300 sq. ft. basement shop — a space that has evolved over decades of woodworking. The parts are for kitchen cabinets I am currently working on.
With over three decades of hands-on woodworking experience—and a few nicks in the dining room table to prove it—I’ve worked in everything from a cramped shed to a 1300-square-foot basement workshop. Whether you’re just getting started or looking to improve your current space, setting up your woodworking shop is an exciting step in your creative journey.
This guide combines practical insights from my own journey, expert advice from respected woodworking publications, and essential resources to help you create a shop that fits your needs, space, and style of woodworking.
Choosing Your Shop Location
Hobbyist woodshops come in all shapes and sizes—from a corner of an apartment for hand carving to fully equipped outbuildings. Most woodworkers fall somewhere in between, making do with a garage, basement, or shed.
1. Garage Shops
Garages are convenient and often underused. Tools on rolling stands can be pulled out when needed and stored away later—especially if your spouse wants the car indoors!
2. Basement Shops
This is where my real woodworking began. Pros: heated space, access to water, no need to walk outside. Cons: dust migration, noise, low ceilings, and the dreaded stairs. My brother jokes that he better die before me because he doesn’t want to haul my equipment back up the stairs.
3. Standalone Buildings
The dream for many woodworkers. You can design it from scratch, separate the noise and dust from the house, and enjoy smoother workflow. But they’re expensive and may lack plumbing or insulation unless upgraded.
How Big Should Your Shop Be?
A good shop size depends on your tools, the projects you plan to build, and your available space.
- 150 sq. ft. is adequate for a basic hand tool or scroll saw shop.
- 200 sq. ft. supports small power tools and some lumber storage.
- 24×30 ft. (720 sq. ft.) gives you room for full-sized stationary tools and workflow zones.
NCWoodworker.net recommends at least 125 sq. ft. for power tool setups. From experience, I can tell you that my 8×20 shed shop felt tight but worked—with tools on wheels and lumber stored elsewhere. My current 1300 sq. ft. shop offers breathing room, but I still run out of space when a project sprawls out across clamps and carts.
Plan Your Layout with Workflow in Mind
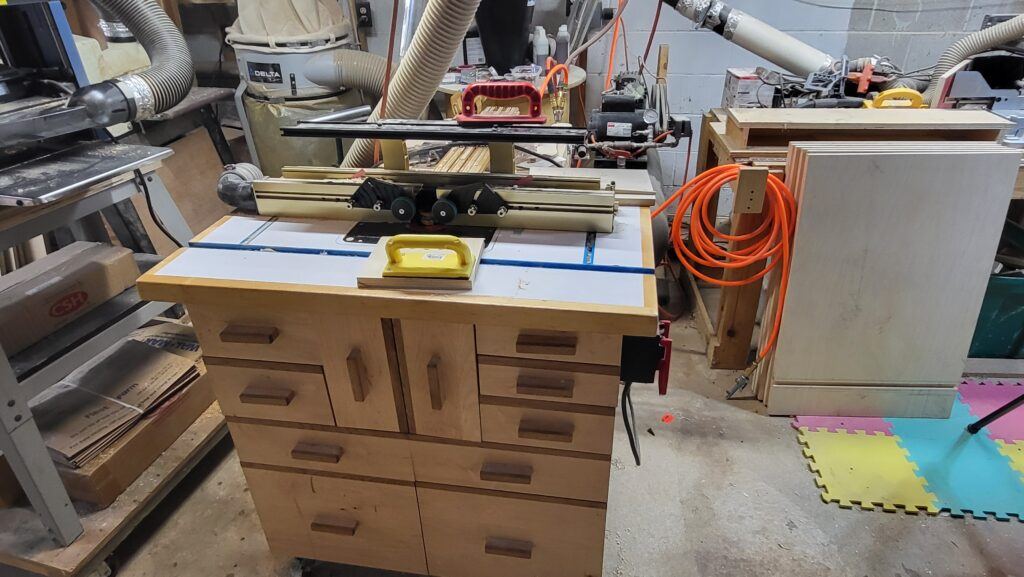
My router table cabinet — built in my 160 sq. ft. shop but still serving me today.
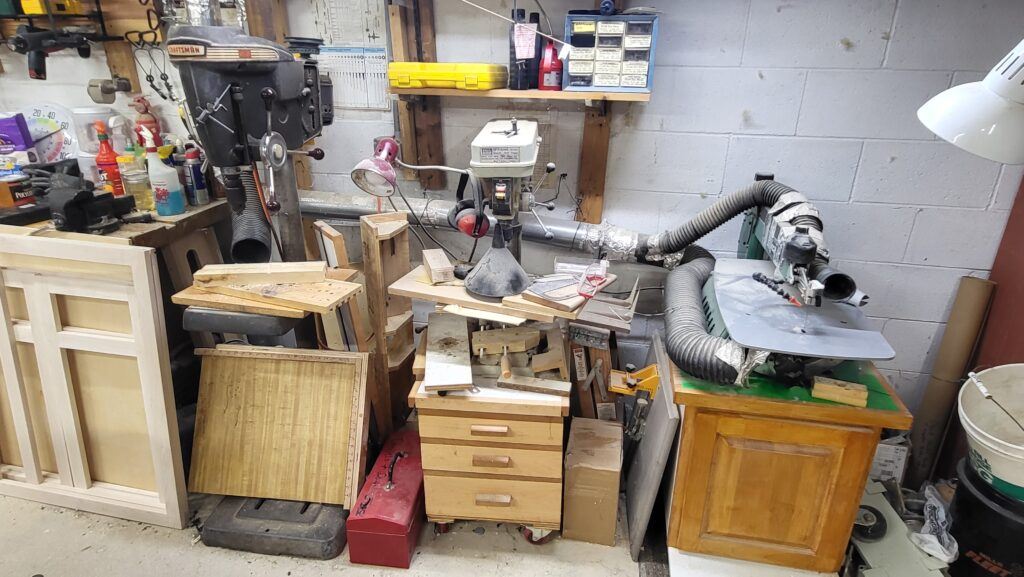
Tool zoning in action: Scroll saw, two drill presses, and wall-mounted storage
1. Lumber and Sheet Goods Storage
Keep your material near the entrance if possible. Wall-mounted lumber racks save floor space and allow you to use the area below for shorter equipment.
2. Material Breakdown Zone
This is where your miter saw, table saw, jointer, and planer should live. These tools prepare rough stock for building, so it makes sense to keep them together.
3. Workbench and Assembly Area
My workbench is the heart of the shop. I use it for handwork, layout, and assembly. I also keep a rolling cart nearby for staging pieces mid-build. Having enough open space here is key.
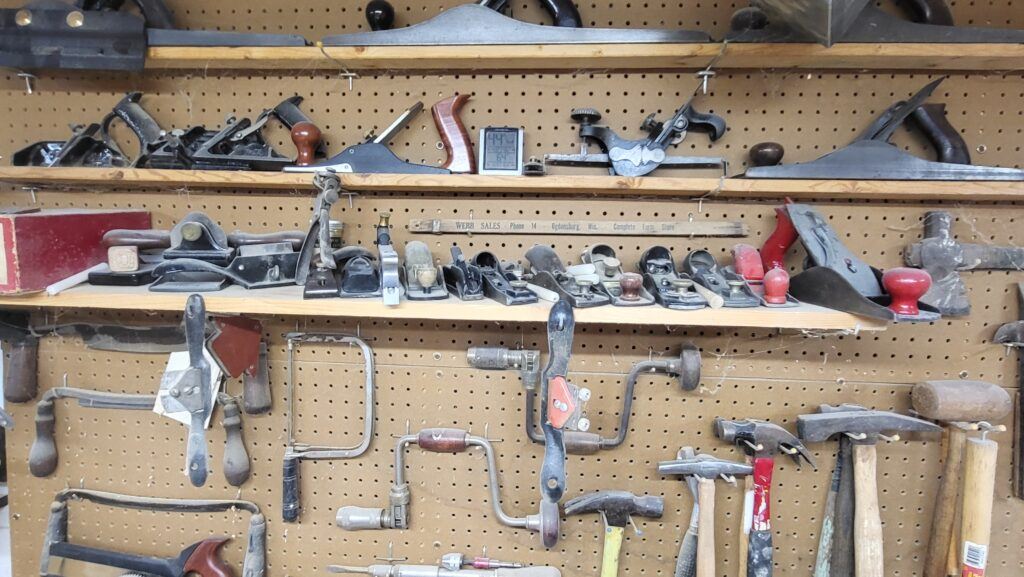
Keep your hand tools near the workbench where they will be handy. Yes, I like collecting planes and old tools. I’ve collected and restored many of these hand tools over the years—each with a story.
4. Finishing Area
Dust and fresh finishes do not mix. If possible, dedicate a separate area for finishing. Dust has an uncanny ability to find a freshly applied finish. My finishing area is at the far end of my basement, far from milling operations, which allows me to finish a project and the finish can cure, while I keep building.
Light, Power, and Comfort
Lighting
Good lighting is essential—not just for safety, but for quality work. One evening, a blind pastor friend of mine was working in his shop when his wife called down and asked if he wanted her to turn off the lights. He replied, “Doesn’t make a difference to me—the lights never help anyway!” Yes, he does use all the same tools as we do and still has all 10 fingers. And his work is amazing.
For the rest of us, invest in overhead LED lighting and task lights at the bench or drill press. It will reduce fatigue and help you see your pencil marks and blade alignment clearly. It gets worse as we get older.
Power Requirements
Two 15-amp circuits will get you started, but I recommend upgrading to 20-amp and adding a 220V circuit if possible. Place outlets near tools—preferably above the bench or station, not hidden behind cabinets.
Climate Control
Temperature and humidity affect finishes, glues, and even the wood itself. If your shop isn’t climate-controlled, at least store those items somewhere where they won’t freeze.
Safety and Cleanliness
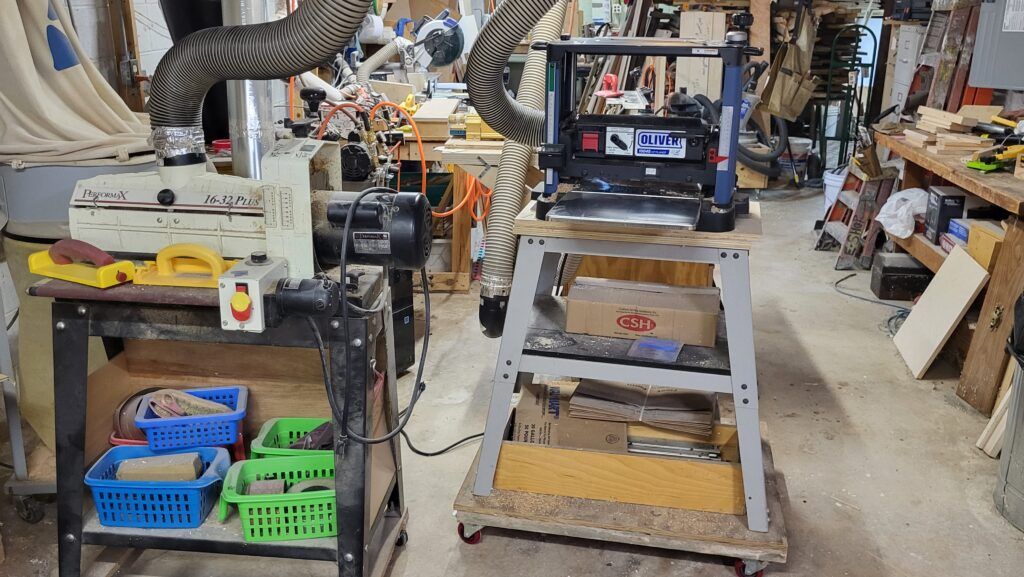
Drum sander and planer are positioned for easy material flow and dust collection. Wheeled stands also make them easy to move out of the way when not needed.

My current dust collector setup — a Delta single-stage dust collector with a Oneida Super Dust Deputy cyclone separator. The bottom bag never has dust in it.
Clean Floors
Trips and falls can ruin more than your project. Keep your walkways clear of cords and clutter. You’re often carrying boards with limited visibility—so clear those paths!
Ventilation and Dust Collection
Dust isn’t just a mess—it’s a hazard. Breathing in fine dust can lead to serious respiratory issues and long-term health problems.
- Use dust collectors for tools like the planer, jointer, and table saw.
- Connect your sander and router to a shop vac with a HEPA filter.
- Wear a dust mask or respirator—especially when sanding or cutting MDF.
Wood dust is a known carcinogen and respiratory hazard. Learn more at:
Essential Resources for Shop Setup
Disclosure: Some of the links below are affiliate links. This means I may earn a small commission (at no extra cost to you) if you purchase through them. I only recommend products I personally use and believe in.

My woodworking reference library — full of inspiration, tips, and dog-eared pages.
Template for Shop Layout
Wood magazine template guide This is a great resource where that has scaled drawings and a grid. You can cut out the various tools you are thinking of having in your shop and move them on paper. It is a lot easier than moving your actual tools that you put in the wrong place.
Recommended Books
- Woodshop Lust by David Thiel
- Setting Up Your Own Woodworking Shop by Bill Stankus
- Dust Collection Basics by Woodstock International
- Woodshop Dust Control by Sandor Nagyszalanczy
Suppliers and Tools
Final Thoughts
I hope this inspires you to sit down with some paper (or a SketchUp file) and plan out your dream shop. Measure twice, move heavy things once. And when it’s all said and done—enjoy the making.
And if you’re wondering about the black, shaggy supervisor in most of my shop photos—that’s Willow, my Labradoodle shop dog. She’s always by my side, occasionally covered in sawdust, and absolutely convinced that every board I move is her business.

My loyal shop assistant Willow—always underfoot, occasionally covered in sawdust.
About the Author

Mike Grawvunder is a lifelong woodworker with over 30 years of experience, founder of The Master’s Workshop of Wisconsin, and proud human to Willow the Labradoodle.
1 Wood dust is a recognized health risk by OSHA and IARC. It can lead to respiratory illness and even cancer with prolonged exposure. Learn more from:
When you click and buy through our links, you’re not only upgrading your woodworking game but also supporting The Master’s Workshop of WI—at no extra cost to you. It’s a win-win: you get the best tools, and we keep bringing you top tips and content!
Mike’s Favorites
These are the tools I reach for on almost every project. The seven below are my quick-grab essentials—open the full list for everything I keep on the bench and in my apron.
Top 7 Essentials
- iGaging 6″ Fastener Cal Digital Caliper — Quick, precise checks.
- iGaging 7” and 12” Layout Square Set (also available at Taylor Toolworks) — Reliable layout reference.
- Starrett 6″ Double Square — Everyday layout accuracy.
- Woodcraft 16 ft Tape Measure (Fractional) — Compact; blade stays out on its own.
- Taytools Stainless Steel 6″ Machinist Ruler (4R) — My most-used small measuring tool.
- RZ Mask M2 9-Piece Woodworker’s Kit — Reusable protection against fine dust; far more comfortable than disposables (also available at Amazon).
- ISOtunes PRO 3.0 Bluetooth Hearing Protection — OSHA-certified hearing protection with streaming and calls.
➤ See my full list of Favorites
On the Bench Tools
- iGaging IMPERIAL Bench Squares – Stainless steel blades with wide anodized aluminum base.
- iGaging 7” and 12” Layout Square Set – Anodized aluminum (also available at Taylor Toolworks).
In My Apron Tools
- Katz-Moses 20 oz Waxed Canvas Tool Apron (The apron isn’t in my apron—LOL—but I’d be lost without it.)
- iGaging 6″ Fastener Cal Digital Caliper
- 6-Pack Mechanical Carpenter Pencils with Sharpener and Refills
- Pentel GraphGear 1000 Mechanical Pencil
- Calculated Industries 4019 Material Estimator Calculator
- Woodcraft 16 ft Tape Measure (Fractional) or FastCap Old Standby 16 ft (also at Taylor Toolworks). I prefer the Woodcraft because it’s smaller and the blade stays out on its own. The FastCap works too, but you have to lock and release the blade each time.
- Starrett 6″ Double Square – Hardened graduated blade.
- Starrett 4″ Double Square – Satin chrome finish, hardened blade.
- iGaging 4″ & 6″ Double Square Set (also at Taylor Toolworks). I was gifted my Starrett squares and treasure them, but this iGaging set is a well-made, affordable alternative I’d recommend if you’re buying your own.
- Lufkin Red End Extension Folding Rule (5/8″ × 6 ft) or Crescent Lufkin Wood Rule (6′ Brass Extension). I keep a folding rule for places a tape can’t manage—checking inside a box for square, or when I need a longer, rigid measure. Get one with a brass extension so you can capture full measurements when another arm won’t swing into place.
- Taytools Stainless Steel 6″ Machinist Ruler (4R) Even with other measuring tools, this little rule probably gets used the most.
- EverBrite 9-LED Flashlight, 6-Pack (Assorted Colors)
- Mikov Thin Blade Dual Bevel Marking Knife (0.060″, Rosewood Handle)
- Narex Thin Blade Dual Bevel Striking Marking Knife (also at Amazon). Yes, I carry two knives: this one’s longer for reach where the Mikov can’t go.
Shop Safety Essentials
- RZ Mask M2 9-Piece Woodworker’s Kit — Breathable, reusable, and essential for sanding/cutting (also available at Amazon).
- ISOtunes PRO 3.0 Bluetooth Hearing Protection — OSHA-certified hearing protection with streaming and calls.
Some links above are affiliate links. Thanks for supporting The Master’s Workshop of WI!
This list is updated as I refine my shop setup and favorite tools.
©5/26/2025
the master’s workshop of wi